|
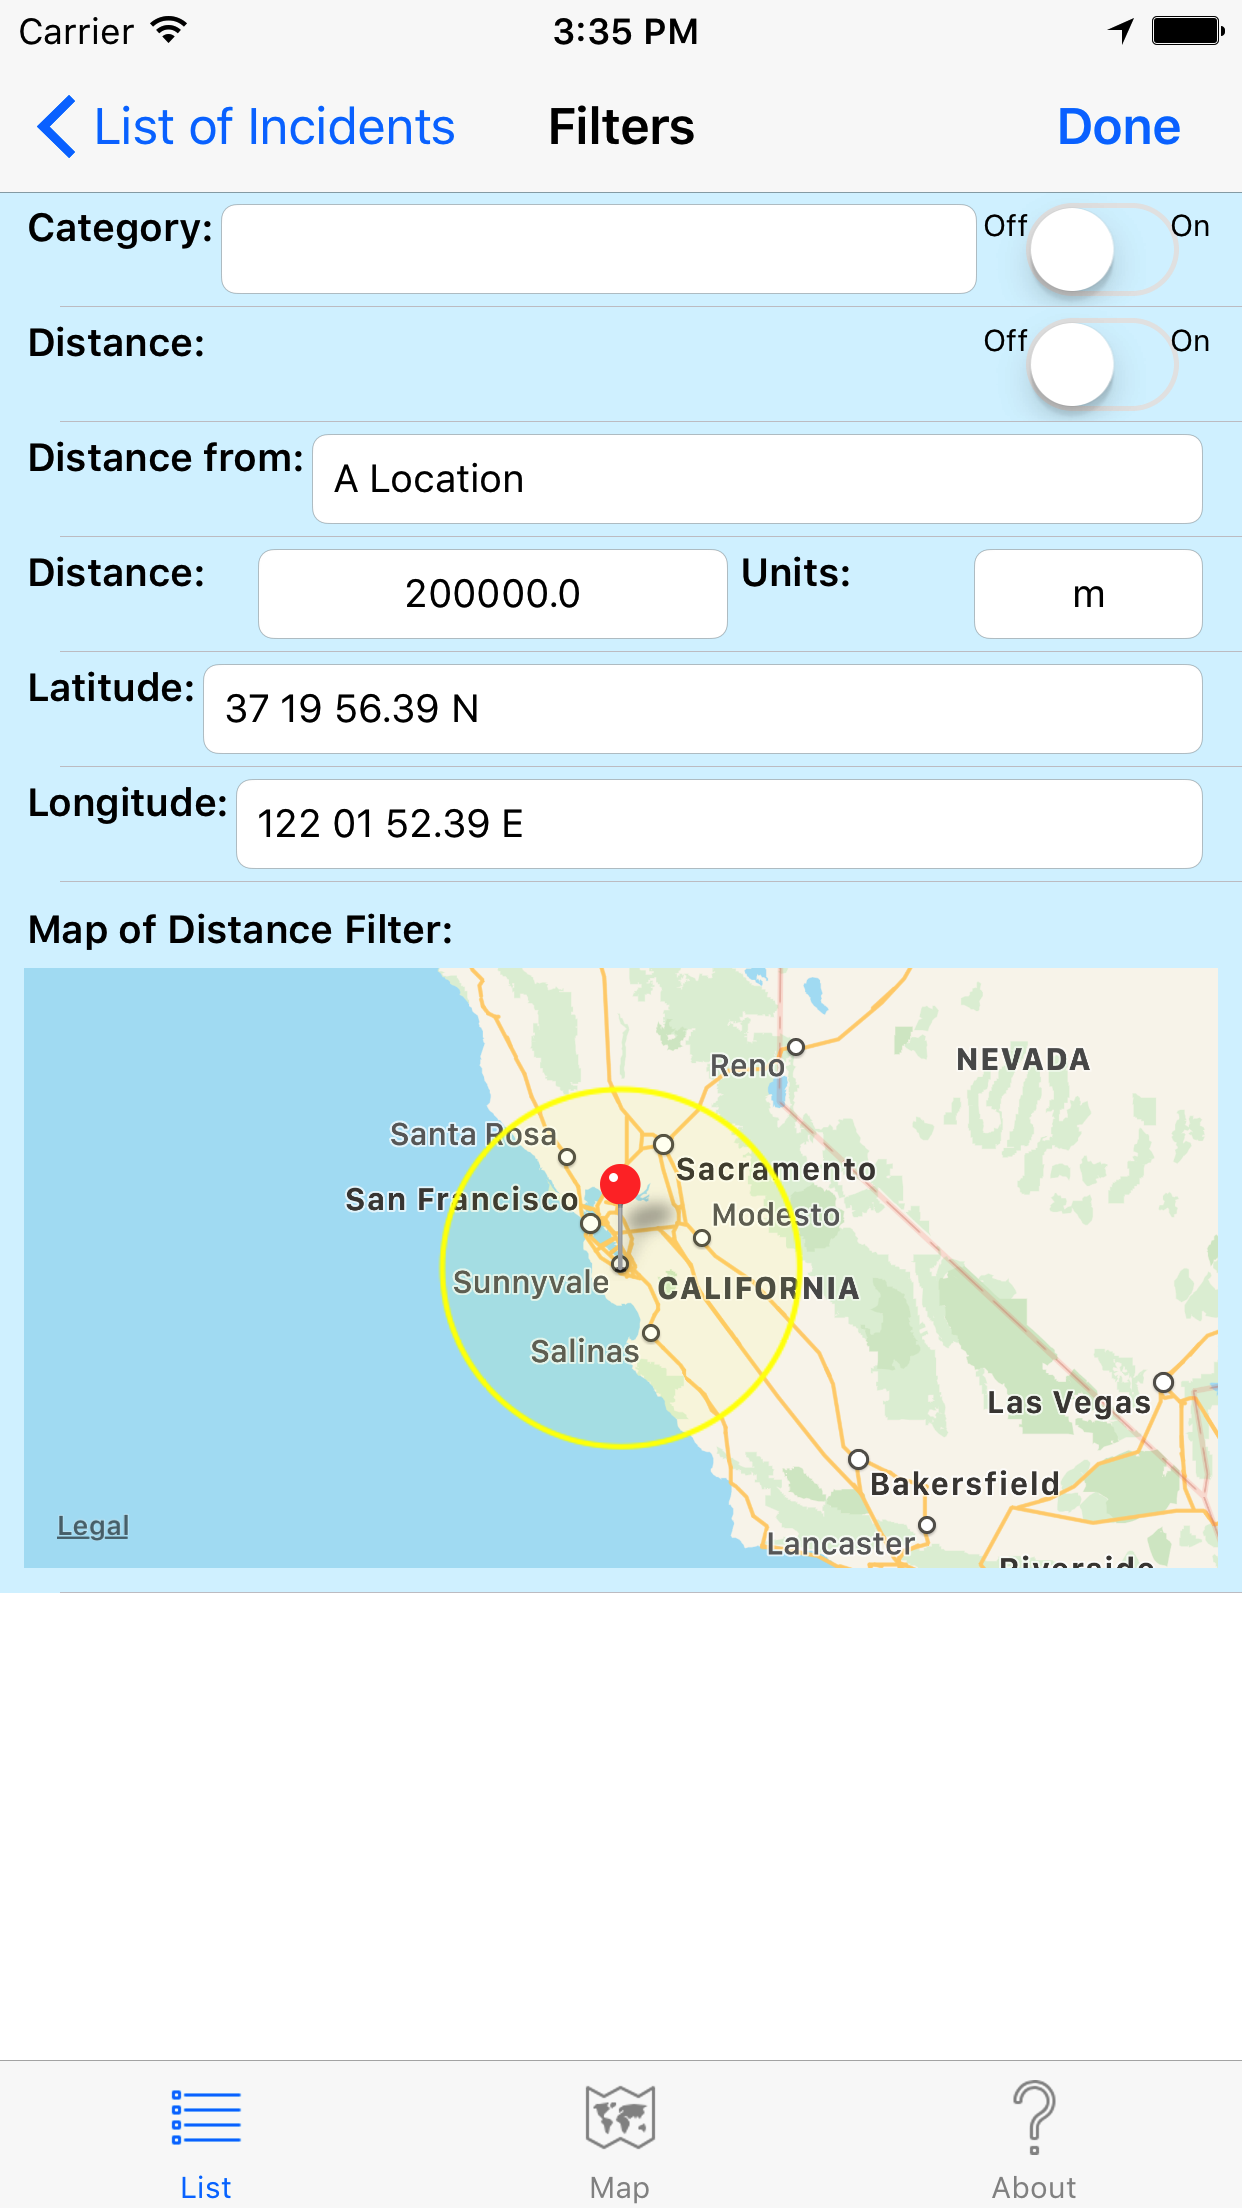
When you first start the application a default filter is created, centered on your location and with a radius of 200 km.
By selecting the "Filters" button at the top left of the first screen of the Map and Hazards Tabs (there is only one filter and shared throughout the app.
Enter the filter parameters you desire.
You can turn the filter off completely if you want. This will mean the application will see all the Incidents in the world you have created this will slow it down. There is also a side effect that you are on your own as far as repositionning the map on the Map tab, when it is on it tries to keep the map centered on the known incidents
If you physically move out side you current filter zone when the filter is on you will get an alert suggesting you adjust you filter.
The "Done" button will save your filter settings
Filters are cached on you device, the application will restore whatever filters you applied last time the application was run.
Distance filters are always restored as From a Location, regardless of how a location filter was created originally.
Lets define a few things first:
| Term | Definitions |
|---|---|
| Distance |
This filters based upon the distance of the hazards ) from some location,
The application internally works in units of meters, but you can view the filter radius in user selectable units |
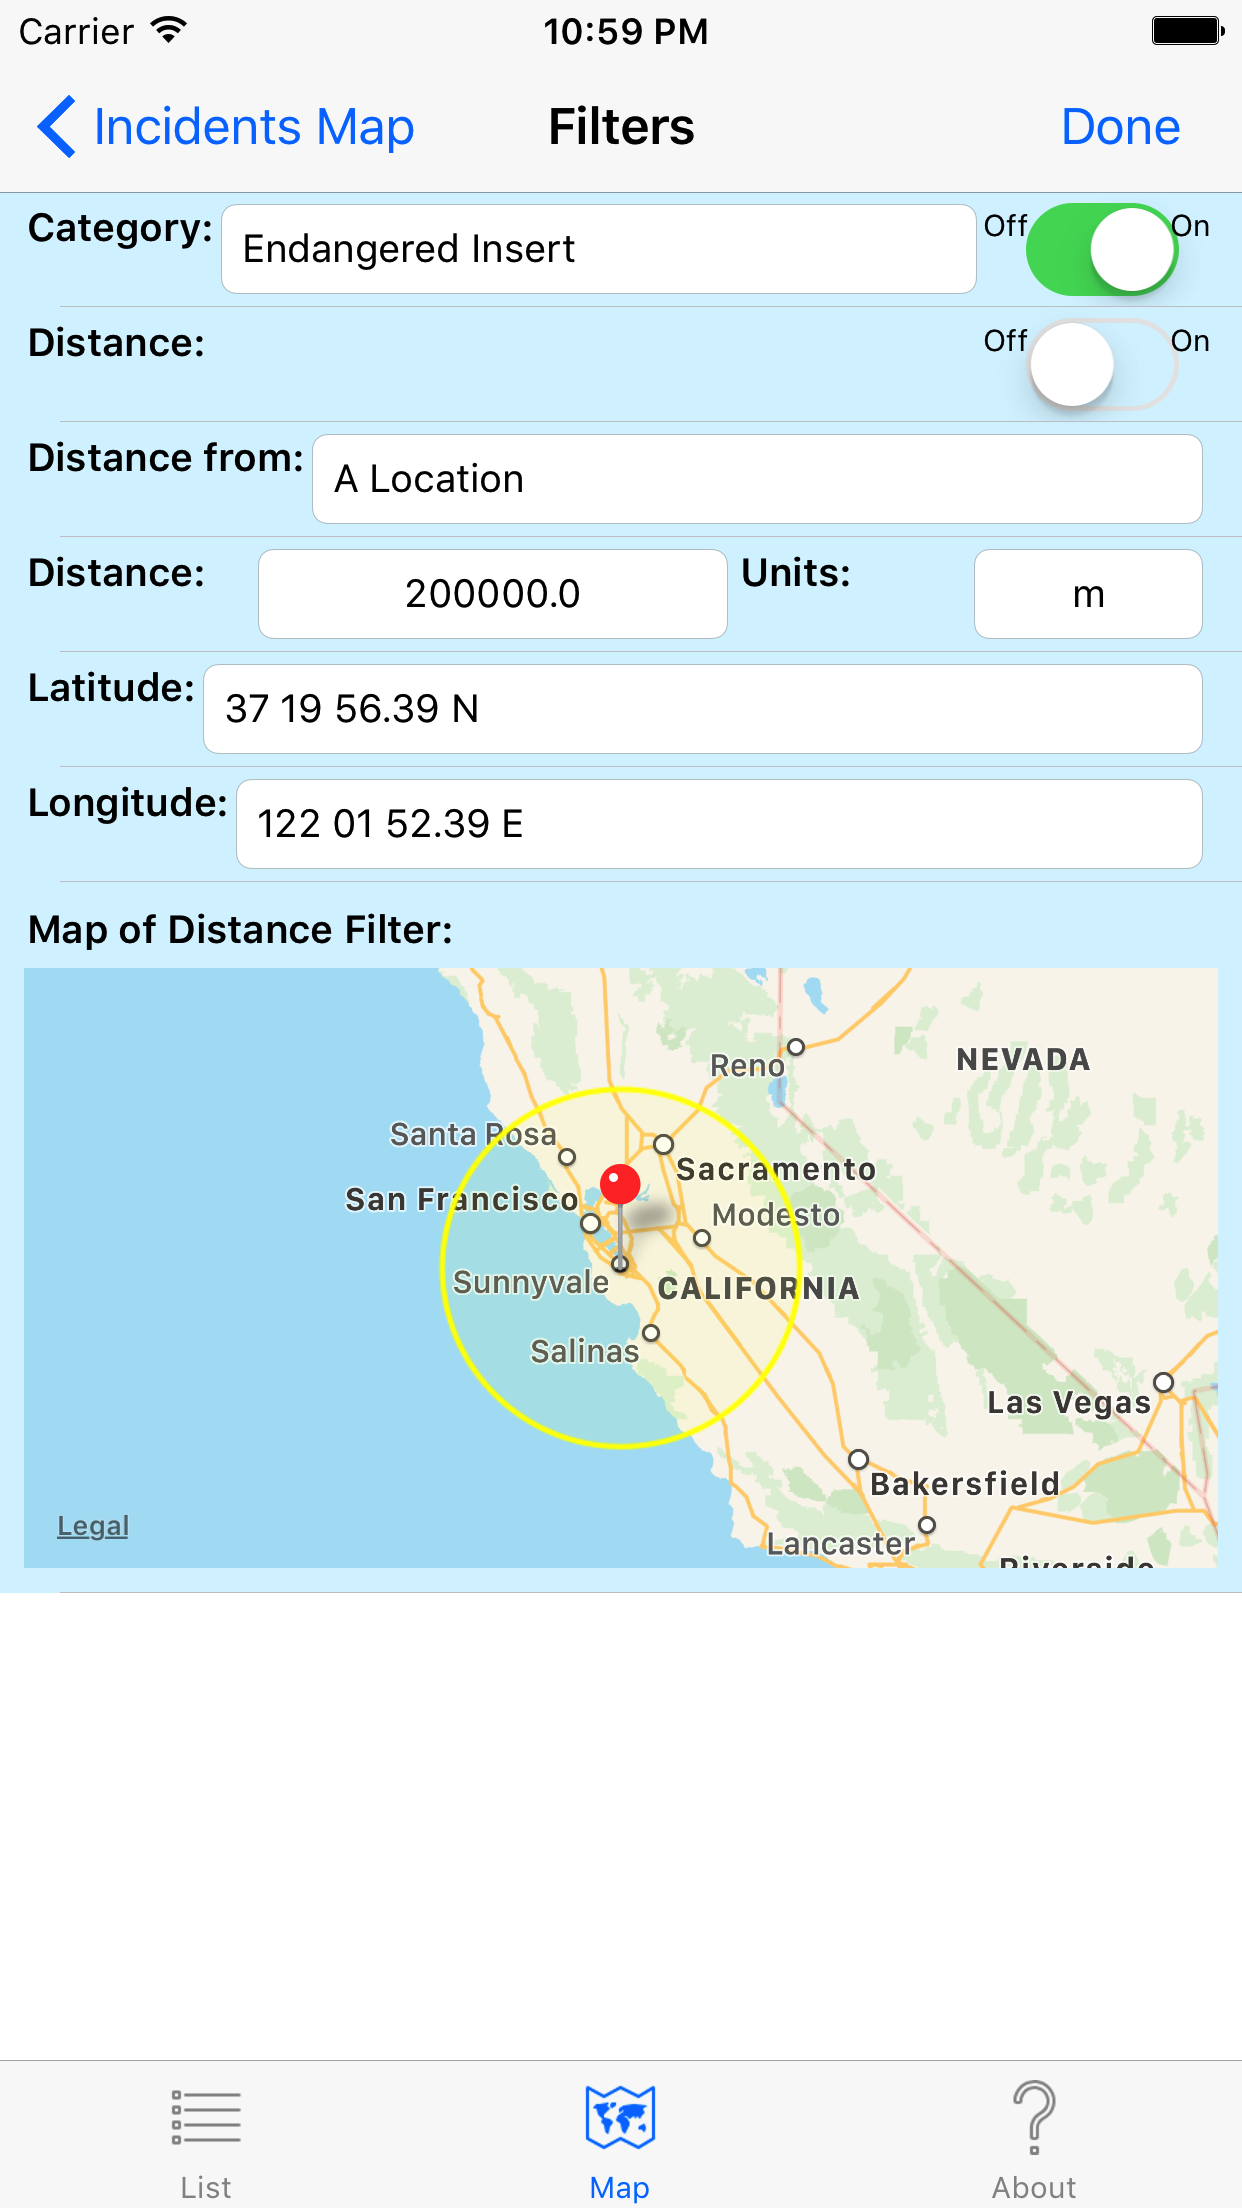
| Category |
This filters based upon the incident category |
.
.
.
.
.
.
.
The application starts with a default filter of 200 km com your location, with the filter turned on.You can modify the filter at any time.
When you physically leave an activities filter region the app will prompt you to adjust you filter.
The Distance From Type field is selectable from a picker with three values:
The Units fields is selectable from a picker with a limited set of values:
The Distance Field lets you enter a distance in the units you have selected.
The Latitude/Longitude Fields allow a latitude/longitude to be entered, if the Distance From Type is changed to Address, these fields change to two address fields.
The Two address fields are labeled, but as the two fields are concatenated as a text field for geo decoding you can use them as you see fit to enter an address, the more information you provide the more likely it will be resolved successful by the geo decoder.
The Map field shows the distance filter currently selected as a yellow circle (why yellow, it is not a color I otherwise use).
All filters have a On/Off control, switch the filter on to activate it, you can switch it off later if you want.
Just so you know what you have done, the map at the bottom shows where the filter is centred with a red pin. The yellow circle shows the current extent of the filter.
When you select to apply a Distance Type filter, this will do several things.
